
I know...long title for a post..sorry about that! :) I thought it would be fun to do multiple post this week all dedicated to chalkboard paint and the fun things you can do with it! Its super easy, affordable, and the possibilities are endless! I'll give you a few ideas :)
First things firsts: Chalkboard paint. I just use the ol' regular black paint. I LOVE the look! I guess I like my chalkboard projects to look like a chalkboard :) There are tons of recipes where you can make your own chalkboard paint and tint it whatever color you want. I have not tried these yet but go ahead! :) This is the paint I use :
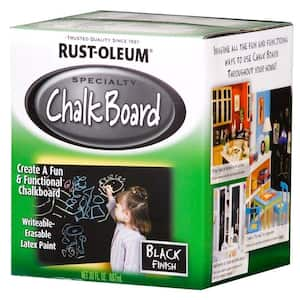
You can find it at Home Depot for just over $9..and it last FOREVER!! I have used my ONE can for all the projects I will be showing you this week, and I still have tons left! So I would recommend getting this verse the spray cans, they don't last nearly as long and are about the same price.
Check out my first project, a chalkboard table for kids!
Sorry this last post has taken longer, I didn't feel like posting it during Easter weekend, haha! :) But I am excited to share my super easy Mud Bench Makeover with you today to wrap up our Chalkboard Paint Week!
I love having a mud bench! But it was always so crazy and disorganized! So I thought adding some chalkboard paint to help organize it sounded fun and easy!
Before:

...This was a "clean" day! :)
I wanted to label the smaller boxed off area above the coat hooks. First, tape of the section you want to paint.

Second, Paint! :) I needed 3 coats of paint to cover well. I used a foam brush and waited 20-30 minutes in between coats to let it get mostly dry.

After one coat of paint

..2 coats of paint..

..and 3 coats! :)


Last: Now that it has really dried for a few days you are ready to condition the chalkboard

Rub chalk all over


Then wipe it off with a dry rag

You are down! Now get to writing on it! :)


Thanks so much for joining me during our chalkboard week! There are so many uses for chalkboard paint and it is so easy and affordable! After all 3 of my projects I still have more the HALF of the paint left in the can! ..makes me wonder what else I should do! hahah! Here are some more fun ideas that I love on Pinterest!

Outdoor Chalkboard
I want to do this soo bad! ..But I don't have a fence..haha! Maybe someday! :)
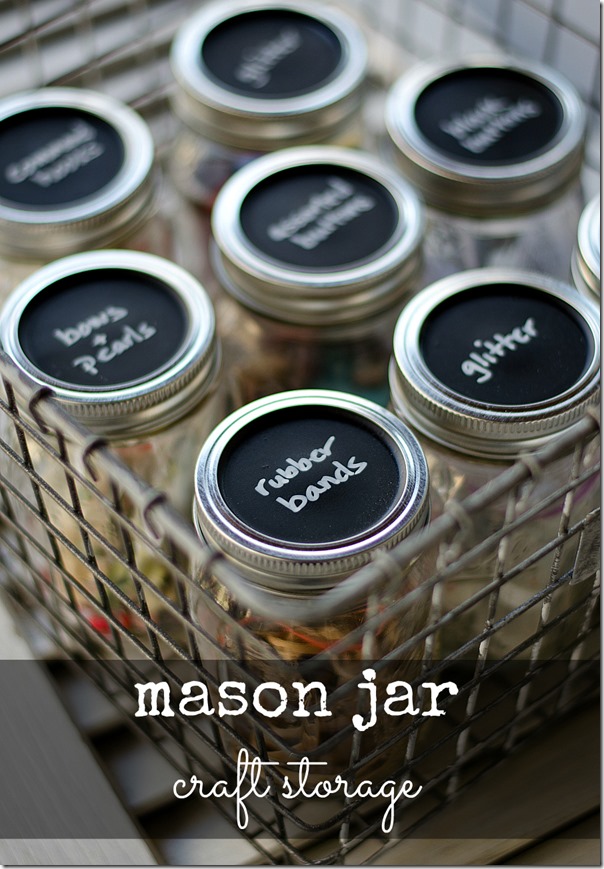
Organize your pantry and cupboards by using some chalkboard paint to help label!

Chalk board Place Mats are also on my To-Do list! :) Find some cheap plastic mats at the Dollar Store and paint away! They can be used for a formal event as place savers or just for fun and to entertain the kids!
What other projects have you done? Or whats on your To-Do List? :)
